
Lightroom Preset Guides & Tutorials – Beginners to Vintage
Lightroom has become one of the most powerful tools for photographers, hobbyists, and even content creators who want to enhance their photos with minimal effort. One of its most attractive features is the use of presets, which allow you to save and apply a complete set of editing adjustments with a single click. For beginners, this can feel like magic—complex edits suddenly become easy and repeatable. This article is your complete Lightroom preset guide beginners, covering everything from creating your first presets to mastering the art of vintage film looks with advanced techniques.
Lightroom Preset Guide for Beginners
If you’re just starting out, a Lightroom preset guide beginners is the first step toward understanding how presets actually work. A preset is essentially a saved collection of edits, including adjustments in exposure, contrast, highlights, shadows, HSL sliders, and color grading. Instead of editing each photo manually, you can apply the same preset to multiple images and maintain consistency.
The best part is that you don’t need to be a professional editor to get started. Even as a beginner, you can use built-in presets or explore free packs available online. These help you experiment with different styles such as moody tones, cinematic looks, bright and airy edits, and retro effects—all without advanced knowledge of Lightroom’s sliders.
Lightroom Presets Banane Ka Tarika (How to Create Presets)
One of the most common questions for new editors is: Lightroom presets banane ka tarika kya hai? The process is simpler than it looks. Start by editing a photo with your preferred adjustments—this could include increasing contrast, tweaking colors, or applying a grain effect for a retro vibe. Once you’re happy with the look, click the “Create Preset” option, give it a name, and save it into a custom folder.
The next time you want to apply the same effect, just select your preset. This not only saves time but also ensures consistency across all your photos, whether you’re editing for Instagram feeds, wedding albums, or product photography. Over time, you can build your own library of presets, each tailored to specific moods and styles.
Lightroom Presets Step by Step
Creating and applying presets becomes easier when you follow a Lightroom presets step by step approach. Here’s a breakdown:
This workflow ensures you don’t miss any essential adjustments while building your presets. It also teaches you how each slider affects the overall mood of your photo, making you a better editor over time.
How to Make Vintage Film Preset in Lightroom
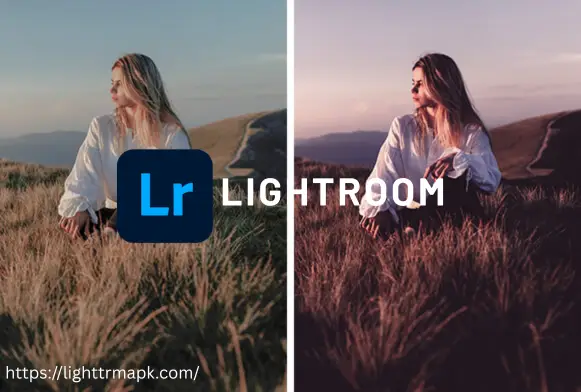
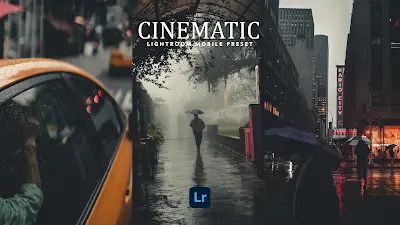
One of the most popular editing styles right now is the classic film aesthetic. If you’ve ever wondered how to make vintage film preset, Lightroom gives you all the tools you need. Start by reducing contrast and slightly lowering saturation to replicate the natural imperfections of old film. Use the Tone Curve to lift shadows and soften highlights, creating that “faded” effect.
Next, move into color grading. Add warm tones in the highlights and cooler tones in the shadows to mimic the retro split-toning effect of analog photography. Finally, apply a moderate grain effect to simulate film texture. By saving this as a preset, you can apply the vintage film look to any photo instantly, achieving consistency across entire photo collections.
Lightroom Preset Bundle Vintage
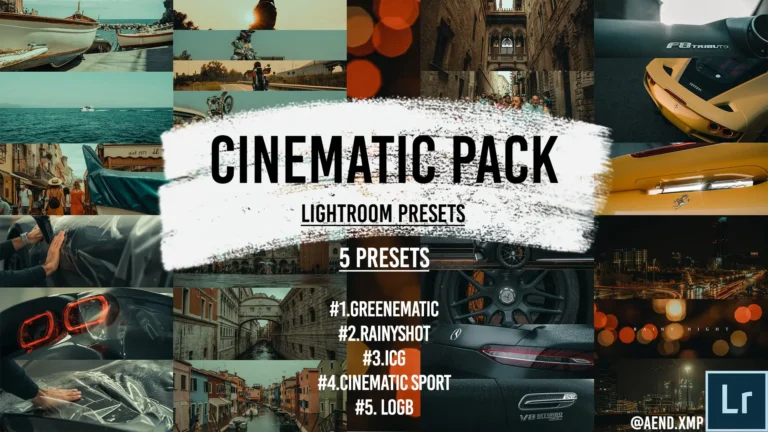
For photographers who want instant access to a wide range of retro-inspired looks, downloading a Lightroom preset bundle vintage is an excellent option. These bundles often include multiple variations of film-inspired presets, from warm sepia tones to cool faded blues. With one bundle, you can recreate the feeling of different film stocks like Kodak Portra, Fuji Superia, or Ilford B&W.
Such bundles are particularly useful for wedding photographers, portrait artists, and travel bloggers who need to deliver consistent results across hundreds of photos. Instead of building everything from scratch, these pre-made collections give you a professional starting point that you can customize further.
Lightroom Grain Effect Tutorial
Grain is an essential part of making digital images look more organic and film-like. Following a Lightroom grain effect tutorial can teach you how to add just the right amount of texture without ruining image quality. In the Effects Panel, increase the “Grain Amount” slider to introduce subtle noise. Adjust the “Size” and “Roughness” to control how fine or coarse the grain appears.
When combined with lowered contrast and soft highlights, the grain effect gives your photos a timeless and cinematic feel. For instance, adding a fine grain works beautifully on black-and-white portraits, while coarse grain can simulate the look of 35mm film.
Lightroom Preset Texture Grain
Another trick to achieve authentic film styling is mastering Lightroom preset texture grain adjustments. Unlike digital sharpness, film photos often have a slightly textured quality. By combining clarity, dehaze, and grain, you can simulate this effect. Some presets specifically include built-in grain and texture adjustments to speed up your workflow.
Using texture grain in presets is particularly effective for street photography, vintage wedding edits, and documentary-style portraits. The texture adds mood and atmosphere, helping your photos stand out from the overly clean digital aesthetic.
Create Custom Presets Lightroom
The most powerful way to level up your editing is to create custom presets Lightroom workflows tailored to your unique style. Instead of relying only on pre-made bundles, experiment with different adjustments and save them as your personal presets. For example, you could create one preset for bright outdoor portraits, another for low-light wedding receptions, and a third for moody black-and-white street shots.
Custom presets give you complete creative control and ensure your work has a signature style. Over time, this not only speeds up editing but also helps you build a recognizable brand, whether you’re a freelance photographer, social media creator, or blogger.
Why Presets Are a Game-Changer for Beginners
For new editors, presets are a learning tool as much as a shortcut. By applying presets and then studying how each slider has been adjusted, beginners can learn advanced editing techniques in a hands-on way. This makes presets both a time-saver and a training method. Over time, you’ll understand how to tweak presets to suit different lighting conditions and subjects, turning you into a confident editor.
Combining Presets with Manual Editing
While presets are powerful, they’re not one-size-fits-all. A preset that looks perfect on one photo may appear too dark or too bright on another. The key is to use presets as a starting point and then refine the edits manually. Adjust exposure, white balance, and skin tones to match the unique conditions of each photo. This blend of automation and customization ensures professional results.
Vintage vs. Modern Preset Styles
Presets aren’t limited to vintage styles. Many creators love modern presets with bright tones, sharp contrasts, and bold colors. However, vintage presets remain timeless because they evoke nostalgia and emotional depth. Whether you’re applying warm sepia tones, soft pastel filters, or cinematic fades, vintage presets help your photos stand out in a world dominated by overly polished digital images.
Practical Tips for Preset Users
Final Thoughts
From learning the Lightroom preset guide beginners to mastering how to make vintage film preset, the journey of using and creating presets opens endless creative possibilities. Whether you rely on a Lightroom preset bundle vintage or prefer to create custom presets Lightroom, the key is to experiment and find your signature style. Adding elements like grain effect, texture grain, and faded tones ensures your edits feel authentic and timeless.
With consistent practice and the right tools, presets transform Lightroom into not just a photo editor, but a storytelling machine. Whether you’re a beginner or an experienced photographer, presets allow you to save time, learn editing techniques, and bring your creative vision to life.